Sunday, June 1, 2014

Hearts of the West June Blog Hop

Welcome to our June Blog Hop. If you came from Chantal Pearson's blog you're in the right place! This is a circular blog hop, if you get lost or want to start at the beginning. You can find the list down below.

This month's colour challenge has been picked by Nancy Klein. It's a soft color pallet perfect for this time of year. The project is open to our choice to keep it simple.

It's my first time participating in a blog hop and I'm so excited! The Close To My Heart colours that were chosen for this round are Sky, Crystal Blue, Olive, Barn Red, Hollyhock, and Blush.


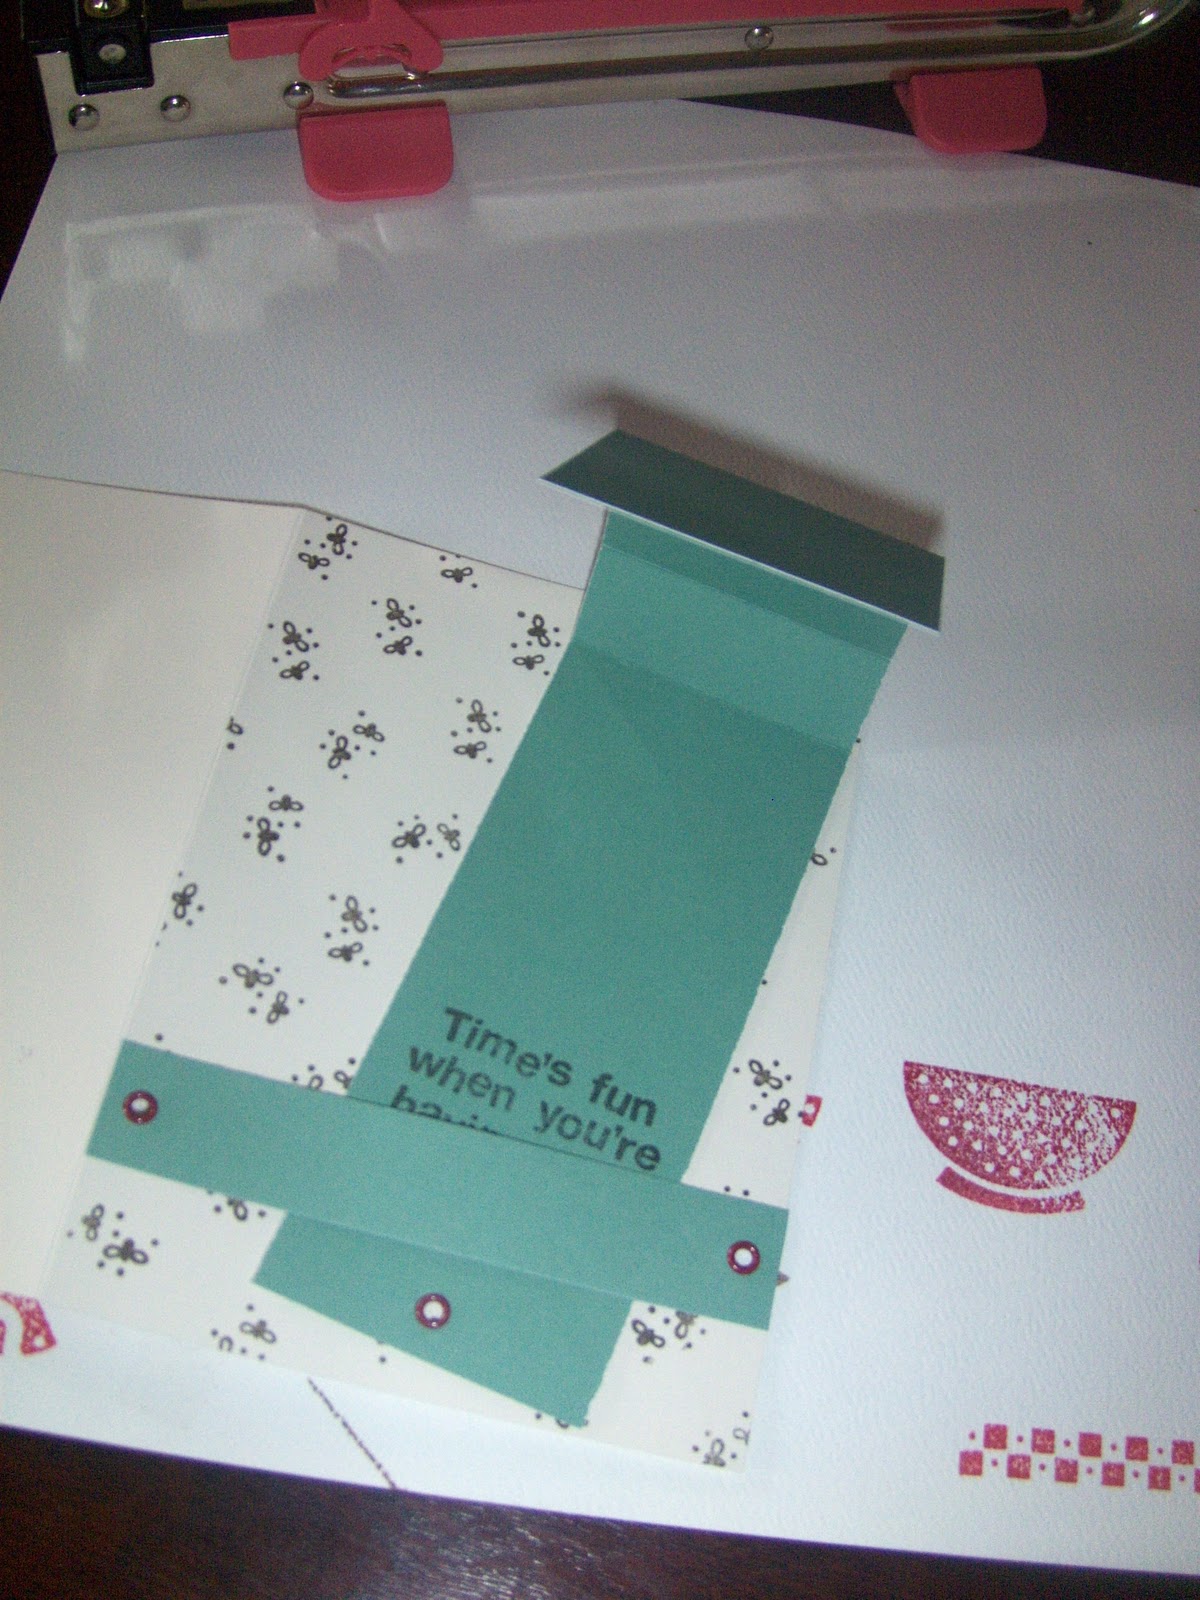
For this card I used one of our CTMH embossing folders and inked it up with Crystal Blue for a letterpress effect on the Sky card stock. I stamped the Fox from February's SOTM ( S1402 Wild About Love) in Barn Red and used the blender pen to add Blush and Hollyhock to the flower and blush to the fox's ears and cheeks. Shapes were cut with Spellbinders dies. The sentiment was stamped twice in both black and Olive for a shadow effect.


For the other two cards I stamped the lilac base image (B1447 A Mother's Love) in Sky and the detail in Blush. The leaves were stamped in Olive ink and 2nd generation Olive ink. The stem was "painted" with the blender pen in Barn Red and the sentiment is stamped in Hollyhock. I added a little Crystal Blue coloured jewel from my stash and sponged the edges in Crystal Blue ink to complete the pallet. The background was embossed with a Cuttlebug folder for some added texture and the shapes were cut with nesting dies by Lifestyle Crafts. It's neat to see what a difference in the overall feel of the card a change in the colour of a mat makes!


I hope you enjoyed seeing my creations. Now off you go to see Sonia St Jean.


Nancy Klien - http://nancyklein.blogspot.ca/2014/06/hearts-of-west-june-blog-hop.html
Chantal Pearson - http://itsahootpapercrafts.blogspot.ca/2014/06/junes-hearts-of-west-blog-hop.html
Amanda K. Gordon - http://sweetsentimentsbyamanda.blogspot.ca/2014/06/hearts-of-west-june-blog-hop.html
Sonia Parent St Jean -
http://scrappingsonia.blogspot.ca/2014/06/june-hearts-of-west-team-blog-hop.html.
Michelle Marciniw Olson - http://mystudiowithaview.blogspot.ca/2014/05/june-hearts-of-west-blog-hop.html
Jackie Vandaele - http://jackievandaele.blogspot.ca/2014/06/junes-hearts-of-west-blog-hop.html
Linda Pekrul - 
http://blueskyscrapping.blogspot.ca/2014/06/june-hearts-of-west-blog-hop.html
Donna Digby - http://datsmystyledj.blogspot.com/2014/06/hearts-of-west-2nd-blog-hop-colour.html
Corinna Murphy - http://corinnacraftfun.blogspot.ca/2014/06/junes-hearts-of-west-blog-hop.html
Anna Miller - http://annasscraps.blogspot.ca/2014/06/welcome-to-hearts-of-west-team-blog-hop.html
 

If you have any questions or comments, we love to hear from you. Thanks for reading and see you next month. 

Saturday, October 19, 2013

Home made chicken and egg noodles

This is a recipe that's been in our family for -  I don't even know how many generations. I believe it was a pioneer recipe, or it could have come over from England. I'm just not sure! I only know that the Sabey side has been making it long before I was ever born, it's delicious, and we all love it.

First you'll need a nice stock pot and a whole chicken. The best kind of chicken for this recipe is a nice, old laying hen, if you can get it. If there's a Hutterite colony nearby you can often order one from them. The chickens you find at the grocery store are typically young and will make a less flavourful broth.


Place the chicken in the stock pot and add enough water to cover it. I also like to add a stock of celery, an onion and a large carrot to add some depth of flavour. Bring it to a boil and allow it to cook away for at least 3 hours. You may wish to add extra water periodically so it doesn't reduce too much. Enjoy the yummy smells wafting through your house.


Alternatively, if you've had a roast chicken or turkey you can boil the carcass after removing all the meat to make a bone broth, which I've found to be just as yummy and you get two totally different meals out of one bird. Bonus!
If you've never made a bone broth, you might want to take a look at this great little video on you tube. Just substitute your chicken or turkey carcass for the back/neck pieces he uses and follow the rest of his directions. http://www.youtube.com/watch?v=0Oi4DjS5EJU 


Now that your chicken is done, scoop everything out of the broth with a strainer. Pull all the meat off and put it aside to eat with your noodles later. Discard the bones and the vegetables.


Now that you have just your broth left in the pot, pull out a spoonful or two and ALLOW IT TO COOL so you can taste it and see how the flavour is. PLEASE do not burn your tongue off tasting it right from the pot. It will ruin the whole experience of eating it at the end :).


If you used a really old bird, you'll have a nice flavour and probably won't need to add much except salt and pepper to taste. I try not to over season it. People that like plenty of salt and pepper can add more to their own bowl at the end.


If you used a younger bird, or your stock boiled off too much, or if you're feeding a lot of people, you can choose to add some extra broth from a carton for added volume and flavour. I prefer Knorr. It's the tastiest out of the several brands I've tried.
Add as much extra broth as you need and bring it all back up to a boil.


Now it's time for NOODLES. The whole family likes to get involved at this point. Use anywhere from 6-12 eggs depending on the crew you need to feed. We usually like to use 8. That will feed our family of 4, plus guests with plenty of left overs (they are even BETTER the next day!). Put your eggs in a bowl with a tsp of salt or so and gradually add flour until you have a nice firm dough for rolling out. I have fond memories of watching my grandparents and my dad mixing this dough by hand and I thank my lucky stars for my KitchenAid mixer and it's dough hook attachment so I don't have to!


Break off pieces of dough and roll them out nice and thin on a well floured surface. I like using a heavy marble rolling pin, it makes it easier.


Once your dough is nice and thin, I would guess around 2mm or less than 1/8", you can cut your noodles. I have this nifty tool I found at a garage sale. If you look up 'roller cutter/meat tenderizer' or 'noodle cutter' on ebay you're sure to find something similar, but if you don't have one, just flour your dough really well, roll it up, and slice the roll thinly with a knife - kind of like making really narrow cinnamon buns. Confession: I totally cheat now and use the KitchenAid pasta roller and cutter attachments my hubby spoiled me with to do these two steps.


Separate the noodles from one another and drop them into the pot one at a time so they don't stick together. This is the part the kids LOVE to help with! Continue rolling, cutting and adding your noodles, stirring well each time you add a batch of noodles. Don't be afraid of your noodles being well floured - it helps to thicken the broth.


Allow them to cook for a while, stirring occasionally. Once they seem like they're done you can pull a noodle out to cool for a minute and taste it. If it seems a little doughy or chewy in the middle, give them a few more minutes.


Now you COULD just eat the noodles and broth but traditionally we always 
serve over mashed potatoes. It's so yummy! Try it, you'll love it!
Now add some chicken meat and enjoy.


 Don't forget to put the leftovers in the fridge so you can enjoy it even more tomorrow :)
You won't be sorry.


Tuesday, November 27, 2012

Matchbox Advent Calendar with CTMH

Perhaps you've seen those cute advent calendar's floating around on Pinterest? Maybe you've even seen the tutorial at Split Coast Stampers? Yes it's those cute matchbox-dresser style calendar's!

When I saw them, I fell in love, and was possessed by the desire to make one as soon as possible! I had, however, just completed making one of these beauties from this season's CTMH Workshops on the Go.
Even I probably don't need 2 adorable, freshly made advent calendar's in one year. Luckily my sister-in-law happened to mention how much fun having one of them would be, AND they were in town over American Thanksgiving! I could totally pull this off, and have it done in time to send home with them.


This is what I came up with:


I'm quite pleased with how it turned out! I simply followed the basic directions from the SCS tutorial (see link above) but instead of using the die they mentioned, I cut my boxes using the Artiste Cricut Cartridge from Close To My Heart. In fact ALL the cardstock, paper, stamps, brads, ribbon and so forth are from CTMH except the cardboard (from some random packaging I had laying around), a tiny circle punch from the dollar bin at Michaels, and the glue I happened to use is Scotch Quick Dry Adhesive. I like it because it dries so quickly and has a super fine pointy nozzle that has never clogged on me yet!
For the boxes I used my Gypsy to size and position the cuts just right on the mat. I sized them to 2.9 and was able to get either six inner boxes or six box wraps from each sheet of cream cardstock. I didn't cut the decorative papers until after I had the chest pretty much made and assembled, so I could make them to measure for my version of the chest.

Here are the tools and materials I used:

Tools:
Cricut Expression
Gypsy
Bone Folder
Trimmer with scoring blade and cutting blade
Small circle punch
Paper piercer and mat
Small number stamps (I used ones from the Nov SOTM - Capture the Date)
Clear stamp block
Stamp scrubber
Ruler (for adding gold edges)

Materials:
8 Pieces of Colonial White Cardstock
3 different coordinating B&T papers (the ones I used are retired CTMH papers)
Cardboard (approx 6" x 6")
Scotch Quick Dry Adhesive
Gold marker
Shimmery Ribbon
White poinsettia embellishments (retired)
Colonial White Brads (24)
Desert Sand ink (use whatever coordinates with your papers)
Stamp cleaning spray
Glue dots

I THINK that's everything!
If you have any questions or comments I'd love to hear from you.

Thursday, October 4, 2012

Paper Pumpkins and Turkey Table-topper

I'm getting ready for Thanksgiving. Are you? This morning I woke up early and the baby slept a bit late so I was able to create some fun Thanksgiving decor. I was inspired by this Turkey Die cut from Lifestyle Crafts.
http://www.ohmycrafts.com/lifestyle-crafts-turkey.aspx
Cute, no?
BUT I'm Canadian, and Canadian Thanksgiving is THIS coming Monday. I don't have time to go looking for this die, let alone order online and wait for it to arrive. Then I remembered: There is an adorable turkey shape on my Close To My Heart - Artiste cartridge! Hooray!


See it here on pg. 78 of the Artiste Handbook. It's not a 3D item though, so I had to improvise. I cut the top half of the 3D pumpkin out of two different B&T papers from the retired Abundance paper pack for the tail feathers. Then I cut two slits into the top of the turkey to slide them into. Make sure at least one of the feather pieces slides far enough down to rest on your table and help the turkey stand upright! For my next one I may play around a bit with the placement of the slits for the tail feathers, but all in all, I think it turned out pretty cute!


Next I made a whole patch of cute little paper pumpkins using B&T papers I still have from the retired Abundance and Felicity paper packs from CTMH (It really is amazing how much you can get out of a paper pack!). If you know me, you know I just love all things pumpkin. Just yesterday, when I brought home a lovely little pumpkin candy dish from Home Sense, my husband told me I may need an intervention (he hasn't even seen the craft Pumpkins my son and I picked up from Micheal's a few days ago...). Ha! Intervention, indeed....


Anyway, the pumpkins are made with the same shape as our turkey tail-feathers, as well as it's bottom half and the little leaf/vine in the bottom corner of the same page in the handbook. Using my Gypsy I was able to fit two tops and two bottoms for each of 3 sizes on ONE sheet of paper! Pretty sweet, eh? I got a total of 12 pumpkins out of just 3 sheets of paper (two orange prints for pumpkins and one greenish one for the leaves) - a very economical set of thanksgiving table decorations! And the best part is, they fold flat for easy transportation and storage. Yay for decorations you can use again but don't take up a lot of room!


Sorry the pictures are a little odd. I'm still just learning how to use my fancy camera and the editing in Picasa. I hope you enjoy these fun ideas nontheless. Have a craftabulous day :)

Friday, September 21, 2012

Sweet Little 1 - Watermelon Birthday Party

 My baby girl just had her 1st Birthday - which completely explains the total lack of posts for the last several months. I decided to do a watermelon theme because a) Alanna is sweet AND juicy, just like a watermelon b) the pink and green combo is super cute and c) I had a watermelon stamp I was just itching to use! And so, without further ado, one more example of my craft crazed self in overdrive:

The Cards:
Here's the invite sent to various family members. Note the watermelon stamp  that got this ball rolling. The watermelon and face are from Peachy Keen stamps - coloured using copic markers. Shapes were cut using the Cricut Art Philosophy cartridge from CTMH. Edges inked with bubblegum from CTMH. Sentiment from various CTMH stamp sets. Paper and sparkles from who-even-knows-anymore, aka, my stash.
This is the card I actually made FOR Alanna, with lots of sparkles and the watermelon on a spring, because she's a total girl and I know that king of thing amuses her. Paper, ink, sentiment stamps and spring all from CTMH. Sparkles form Dollarama. Watermelon from Peachy Keen, coloured with copics.
 The Decorations:
Here's a little welcome sign I whipped up using paper from my stash, the CTMH Art Philosophy cartridge, Wild Card cartridge (the font), the GYPSY (to weld letters, and choose NOT to cut some parts of the shape). The seeds were drawn with black Stickles glitter glue.
Here's a "sweet" little banner using Art Philosophy and Wildcard cartridges.

Over the table. These are very easy to make, although a bit time consuming. There are many video tutorials online so I'll spare you the details. If you want to learn to make these fancy little guys just search for "tissue paper pom pom tutorial" on you tube.
In the corner. 
Entry way

Some very large ones in the living room

The Treat bags:
Watermelon Rice Krispy treats. I followed this recipe  http://www.glorioustreats.com/2012/06/watermelon-krispie-treats.html


What I included in the treat bags: Watermelon Krispy on a stick (because everything is more fun to eat if it comes on a stick, right? And some Sour Watermelon candies.

All the Treat bags ready to go - so cute!

Bags are from Wilton. Tags cut with my Cricut using Art Philosophy Cartridge.

Stamps and ink from Close To My Heart. Thank you CTMH for making stamps that  can bend so I could fit them in the little circles!
 The Food:
Sorry it's sideways. I don't really feel like uploading it again though. Cupcake liners from Wilton. Stand from Dollarama. Used my Tupperwear decorator for the piping (Thanks Erin!).

I used this recipe for icing made with lime jello.  http://coleensrecipes.blogspot.ca/2010/11/kid-friendly-jello-frosting.html  For the Cupcakes I just piped it on in swirls and topped with a sour watermelon. For the big cake I iced it smooth and then dabbed/painted the stripes on using my silicon pastry brush and green food colouring.

Check out my mad painting skills. lol

I used one DH cherry chip cake mix and added LOTS of food colouring to get it this colour. Half the mix made 12 cupcakes and the other half I baked in a mixing bowl to get this dome shape. It's hard to see in this picture but there are mini chocolate chips throughout the cake for a watermelon seed effect.
The party scene. We had a fruit tray, Watermelon slices (of course!), and slush punch (which in hnidsight should have thawed a bit more before serving). Pink and green plates, napkins and utensils and tablecloths were all from Dollerama. I also wrapped water bottles in the same paper I used to make the invites, with little watermelon stickers in the front.


Here's the birthday girl scarfing down her cake. I'd like to point out that she ate half of at least 3 other peoples cupcakes as well. This was AFTER she'd been eating fruit and things for at least half an hour before everyone arrived!

Here she is opening her gifts. Yes! That is an adorable watermelon romper! Thanks for noticing :)

Happy Birthday sweet little 1!

Thursday, November 10, 2011

MyMemories Scrapbooking Suite Giveaway

Today I'm reviewing the digital scrapbooking suite from MyMemories.com. It retails here for $39.97. But you can enter win it here on my blog for FREE! YAY! Who doesn't love free stuff? I'll be doing the drawing on Friday November 18th so get your entries submitted RIGHT now while you're thinking about it. Seriously, scroll down and do it now.

When I first started playing with this softwear there was a bit of a learning curve to figure out where to find things and what the different symbols on the buttons mean but I had a lot of fun exploring it and if you've used any photo editing or scrapbooking softwear before, it's mostly intuitive. In fact after messing around for just a bit I was able to come up with this:


Pretty good for the small amount of time I put into it, considering I'm a crazy perfectionist...

There are several kits that come included in the softwear but to do a lot of things you will need to download some others from the MyMemories online store (or create your own). Before you're totally put off by that, you should know that I was very impressed with the number of free kits that are available - dozens and dozens of them! There are also lots and lots that you can buy but they are all quite reasonable. Most are only a couple of bucks, some are more and others are less than $1. Plus when you purchase the softwear you get a $10 coupon code emailed to you that you can use for some of your favourite new kits.

Some of the kits look very "digital", if you know what I mean, which, as a classic scrapbooker/ cardmaker, really isn't my style. There are quite a number if kits that do look more "scrapbooky" though, and I will probably use those more. I like the tips and tricks that pop up when you use the softwear and that you can use their premade templates or design your own. I also like that it can be used for things OTHER than just scrapbook pages. You can make cards, tags, calendars etc etc as well. I have planty left to explore. All in all it's a fun and useful softwear suite and I'm certain to get plenty of use out of it.

Now here's the fun part! If you didn't listen to me before, listen to me now -  visit http://www.mymemories.com/ and then scroll down here and leave your comments to be entered to win so YOU can have this softwear for free! Drawing will take place on November 18th!


To enter the contest:
- go to http://www.mymemories.com/ and choose your favorite FREE digital paper pack or layout, then comment here telling me which one you like best.

Bonus entries:

1) Become a follower of my blog then comment and tell me.
2) Share this post on FB or Twitter then comment and tell me
3) go to http://www.mymemories.com/ and choose your favorite NEW digital paper pack or layout that you can purchase, then comment here telling me which one you like best.
4) Like MyMemories on FB and come here and tell me about it
5)Share the coupon code below (via FB, Twitter, Pinterest or email) and link to MyMemories.com then come here and tell me about it.

You can do any or all of the bonus entries ONCE each. That's 6 possible entries!

As a special for all my readers, use this Share the Memories coupon code STMMMS46781. It provides a $10 discount off the purchase of the My Memories Suite Scrapbook software and an extra $10 coupon for the MyMemories.com store (emailed to you after the softwear is purchased) - $20 value!

Monday, October 24, 2011

Waterfall Card

I made this card eons ago with every intention of blogging the tutorial that very week, but alas! Have a little compassion on me though - I have a VERY busy little boy to keep up with and just became a new mom again at the end of August. Meet my 2 cuties:
They are both sleeping now - and will hopefully stay that way while I make this post!

And now, on to the card! Here it is in all it's finished glory.
The first step in creating this fun card is to create your background on the card base. You can simply use a patterned paper or you can do some random stamping like I did here.
Next cut a strip of cardstock and attatch it AT THE ENDS ONLY. I used eyelets but you could also use brads or just some good strong adhesive. See how the middle of the strip is not adhered to the card base?
There will be 4 squares to stamp your images on. If you want them matted cut the mats to be 2"x2" and the centres 1 7/8"x 1 7/8". Stamp your images and adhere to the mats.
Cut a strip of cardstock 9"x2" and score at 2", 2¾", 3 ½", and 4 ¼" and fold along the score lines. Stamp a sentiment about 1/3 of the way up the long side. Slip the long side through the attached strip and add an eyelet near the bottom so you can add the pull cord later.
 Adhere the short side to the front of the attached strip, lining up the bottom edges.
Run a line of glue across THE TOP ONLY of each of the 4 squares and adhere them under each score line.
Add whatever type of pull cord you like through the eyelet, give it a pull and watch the magic! Oooo....Aaaaah...!
Interactive cards are fun to make and fun to receive so give one of these waterfall cards a try :o)